When I had my back episode four years ago, the doctor's first question was not about what I lifted. It was about what I had stopped lifting. I had a garage full of equipment I had talked myself into and then stopped using, because every time I went back to heavy dumbbells my body reminded me why I had quit. Resistance bands were the thing I picked up last, almost by accident, and the thing that actually stuck. This is the full routine I wish someone had laid out for me in plain terms instead of a 40-minute video.
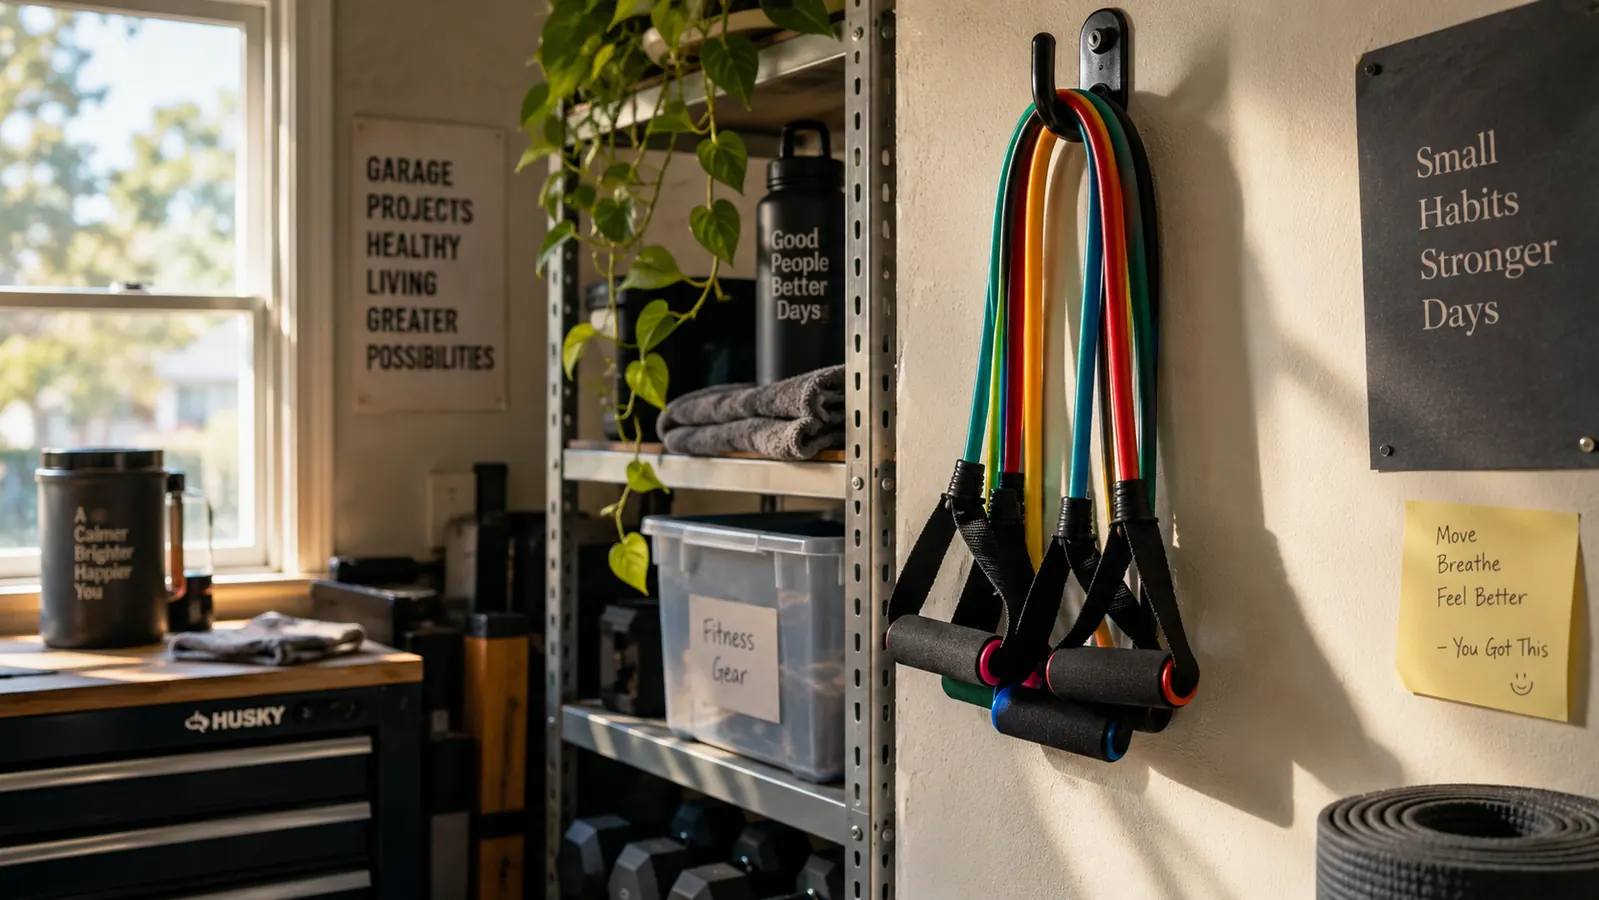
The honest headline: bands will not build you a bodybuilder's frame. What they do, done right, is build strength, balance and confidence with almost none of the joint load that makes a 50-something quit. The set I still use is the WHATAFIT five-level set. It has five tubes with five tension levels, two padded handles and a door anchor, and it packs into a pouch smaller than a loaf of bread. You do not need more than that. Here is the plan.
The Only Gear This Routine Needs Is a Five-Band Set
Five tension levels, a door anchor and padded handles, all in a pouch you can throw in a drawer. That is the whole home setup for this routine.
Amazon Check Today's Price on Amazon →Step 1: Set Up the Door Anchor So You Never Think About It Again
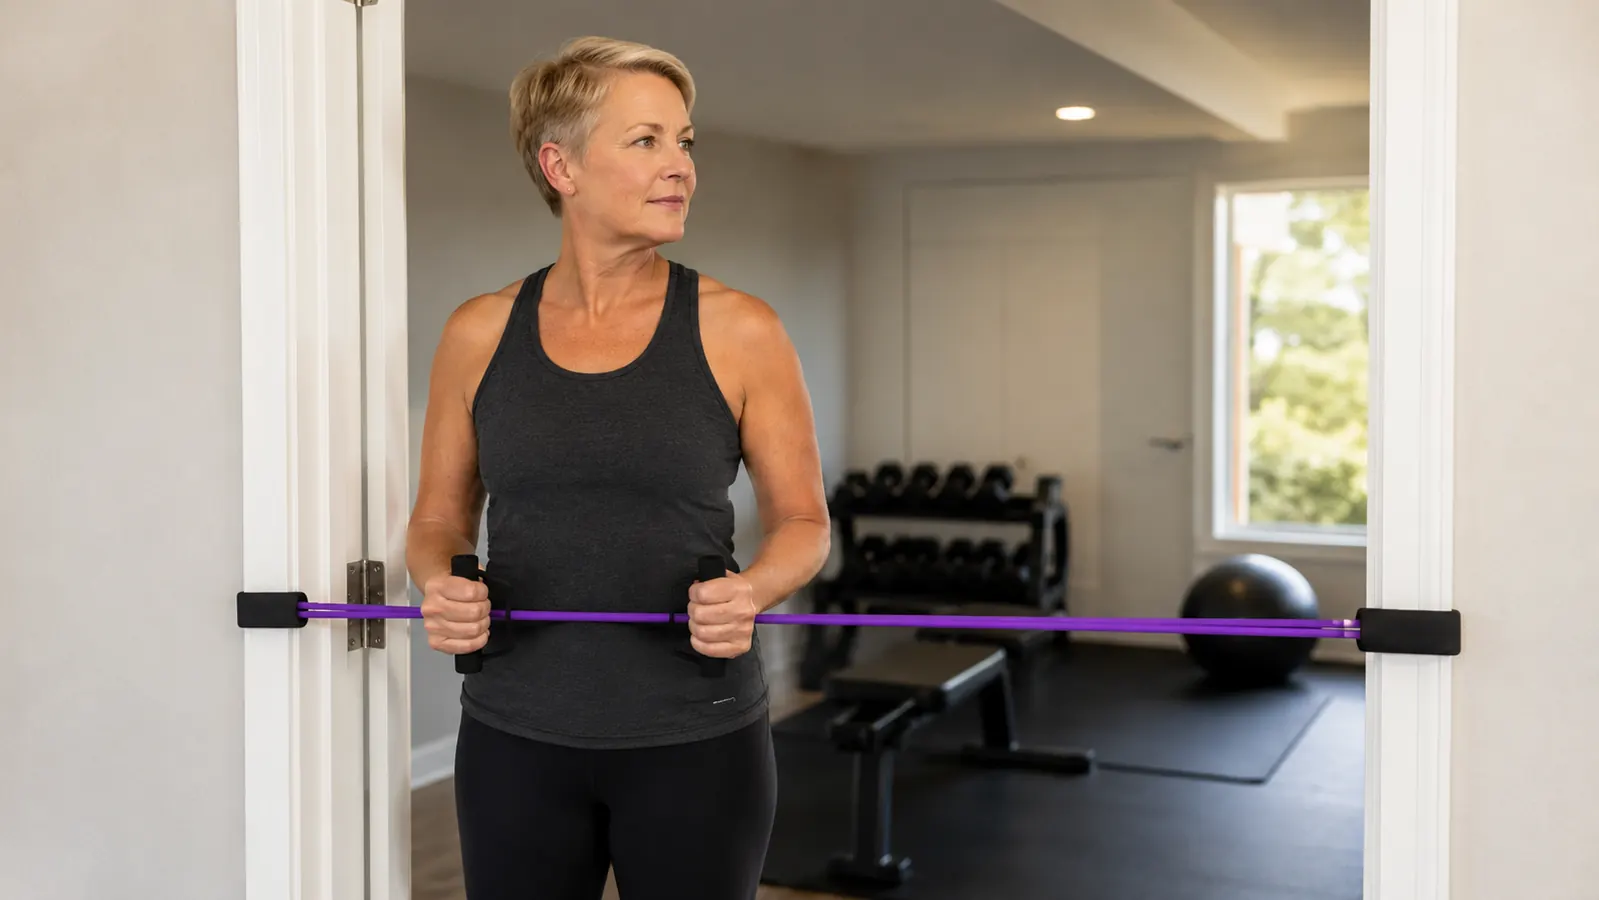
A door anchor is a strap with a loop that slides over the top or side of a closed door, and the band clips onto it. The single most important thing about this step is that the door closes on the strap, not on you. Clip the anchor to the band first, then close the door on the loose end, and tug once to make sure it holds before you lean into anything. A door that is already latched shut gives you the most grip.
For a first week I would put the anchor at about waist height and only do moves that keep the band in line with the pull. Do not rig the anchor to a stair rail or a chair leg; if the band snaps, that thing is coming at you. A closed door and the anchor that came with the set is genuinely safe and genuinely enough. If you train in a space with no door handy, a heavy solid piece of furniture works, but check every time that the strap is not about to slide off its edge.
This is not glamorous and it will not make a good social media clip, but setup is where most band injuries happen, and it takes me about twenty seconds now. Do it the boring way and you can stop worrying about it and start worrying about the actual work.
Step 2: Learn the Tension Levels Before You Pick One
The WHATAFIT set's five bands are color-coded and each roughly doubles the resistance you felt on the previous one. People grab the heaviest tube on day one because it feels like the most workout. That is the mistake. The right band is the one where you can keep good form for the last two reps of a set but your muscles are shaking by the end. If you can bang out twenty flawless reps, the band is too light. If your form collapses at five, it is too heavy.
Here is the test I use: pick a band, do the move, and ask whether you could do two more with clean technique if you had to. Yes to two more easily means go up a level next set. No means you are exactly where you should be. Bands also get slightly easier to stretch the more you pull them, so the tension is heaviest at the start of the movement and lightest at the end, which is the opposite of a dumbbell. Your muscles are working hardest before your joint is in its most fragile position, and for a recovering back that is a feature, not a bug.
I keep the two lightest bands clipped together on the anchor when I am not sure, so I can thread one on or off in seconds and adjust mid-set. You cannot do that with a fixed weight, and it is one of the quiet reasons bands fit an over-50 routine so well.
What has held up on my WHATAFIT set, after more than a year of weekly pulling, is the clips and the foam handles. The clips still snap shut clean and the handles have not split at the seam, which is the spot cheap sets fail first. What has not held up is the printed label on one tube, which faded after a few months of rubbing against the door anchor. You will not notice it unless you train in a bright room and look closely, but it is real and you should know it going in.
Step 3: Warm Up Your Shoulders and Hips Before the First Stretch
Bands are gentler than weights, but they are not an excuse to skip a warm-up. Cold shoulders are exactly what you pull when you reach for a heavy band too fast. I spend five minutes before any band work moving my shoulders through circles and rolling my hips, then do ten slow reps with the lightest band in the set before anything that counts.
That first set with the light band is not wasted work. It is rehearsal. It tells your body which direction the pull is coming from before you add tension, and it tells you whether your shoulder or knee is grumpy today. I have skipped this and regretted it every single time. Five light minutes is a cheap insurance policy for someone my age.
Step 4: Run a Full-Body Circuit Three Days a Week
Here is the routine I actually do, three non-consecutive days a week, about 35 minutes a day. I do two sets of 12 to 15 reps of each move, resting about a minute between sets, and I move from one exercise to the next without rushing.
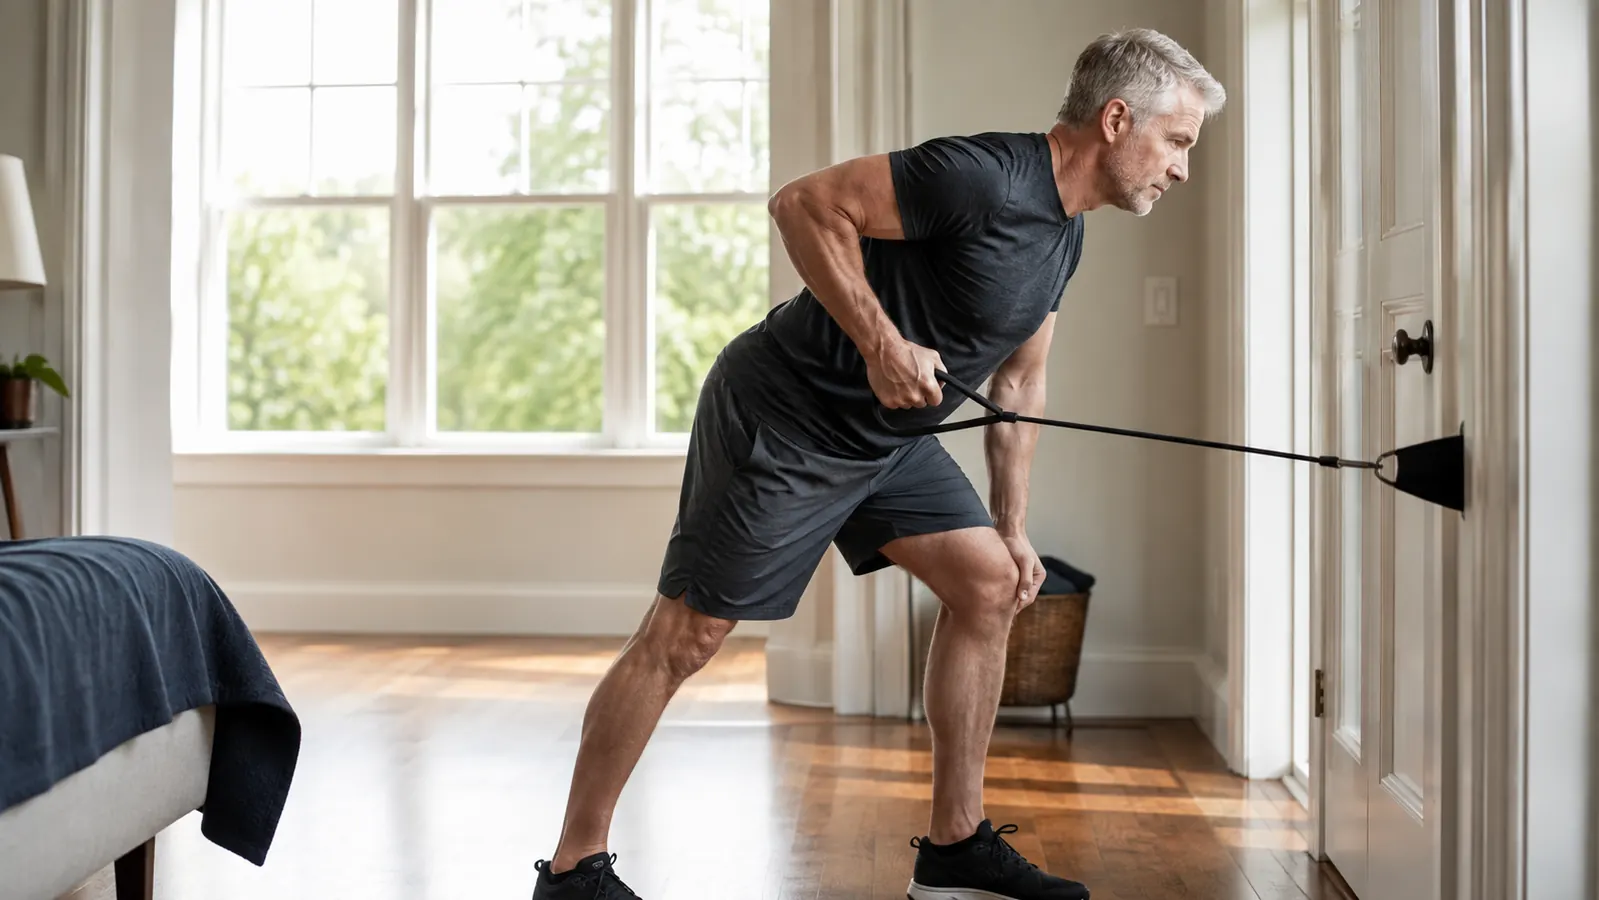
Band row. Anchor the band at low or mid height, stand with soft knees, and pull the handles back toward your ribs with your elbows tight to your sides. This is your pulling move and it is the one I credit most with helping my posture after years of desk work.
Band chest press. With the anchor behind you at chest height, face away, take a handle in each hand at your chest, and press forward until your arms are straight without locking your elbows. Keep the band away from your face; stand far enough out that the tension is real before you start.
Band squat with the band under your feet at mid-tension is my leg work, and I step on the center of the tube with both feet, hold a handle in each hand up at my shoulders, and squat down and back like I am sitting into a chair. Standing, I add a shoulder press from that same position by pressing the handles overhead. Two moves, one setup.
Band glute kickback with the anchor low behind me, and a gentle band pull-apart in front of my chest to finish the shoulders. That is it. No ten things to remember. You are pulling, pressing, squatting and stepping, which covers the big muscle groups without needing a full rack.
Rest days matter as much as the work days here. I train Monday, Wednesday and Friday, leaving a full day between each so the muscles actually rebuild. On off days I stretch and walk, but I do not touch the bands. For someone coming back gently, that recovery gap is what keeps the routine from becoming the thing you quit.
Step 5: Add Tension the Slow Way, Not the Heroic Way
Progress with bands is not measured in pounds. It is measured in staying on the same band for fewer rests, then moving up one level. I bumped each movement to the next band only after I could finish every set of that move without letting my form go loose, which for the biggest moves took me weeks, not days. That is the honest pace and it is the pace that does not set you back.
The other part of progression is not adding reps forever. Twenty reps with a light band is a conditioning thing, not a strength thing. If you want strength, add resistance by moving up a band or by slowing the movement down, then keep the reps in the 10 to 15 range. Slow reps with a medium band have done more for my strength than fast reps with a heavy one ever did.
And give it a real test before you judge it. A month of three days a week is the shortest honest window to see whether your range of motion and your confidence in daily tasks are improving. I noticed the difference first the day I carried a box of groceries up the stairs without bracing myself, and that was around week five.
The day I noticed the bands were working was not in the garage. It was carrying a box of groceries up the stairs without bracing myself, around week five.
What Else Helps
A few things beyond the bands themselves make this routine easier to keep. Train in front of a mirror or your phone's camera for the first few weeks, not for vanity but to catch your shoulder hiking up or your knee drifting. Breathe out on the hard part of the movement and in on the easy part; I still have to remind myself. Keep the set where you can see it, because gear you can see gets used and gear in a drawer gets forgotten.
What else helps: a thick mat underfoot if your floors are hard, and a pair of supportive shoes even though you are standing still, because band work on a bare floor in socks can slip. If a move hurts in a joint rather than a muscle, stop and pick a lighter band or skip it that day. Bands are forgiving, but they are not foolproof, and knowing the difference between tired muscle and unhappy joint is the whole game at our age.
Who This Is For
This routine is for anyone over 50 who has been told to lift weights, tried the intimidating version, and quietly given up. Bands are the on-ramp. They are also for travelers, because the whole set folds into a pouch, and for anyone whose joints send a complaint every time they pick up a heavy dumbbell. If your goal is to feel steadier, carry groceries with less effort, and protect your back, bands will get you there with far less risk than a stack of iron.
Who Should Skip It
Be honest with yourself: if you already find heavy free weights easy and you want to build serious muscle mass, bands alone will frustrate you. The heaviest band in a home set rarely matches what a loaded barbell gives a strong lifter. And if you have a specific injury, an unstable joint or a recent surgery, check with your physical therapist before you start any band routine. Bands are safe with good technique, but no article on the internet is a substitute for someone who knows your actual body.
Start This Week with the Set That Lives in My Drawer
A five-level set, a door anchor and padded handles is everything this routine needs. Give it the slow, three-day-a-week approach and judge for yourself at a month.
Amazon Check Today's Price on Amazon →