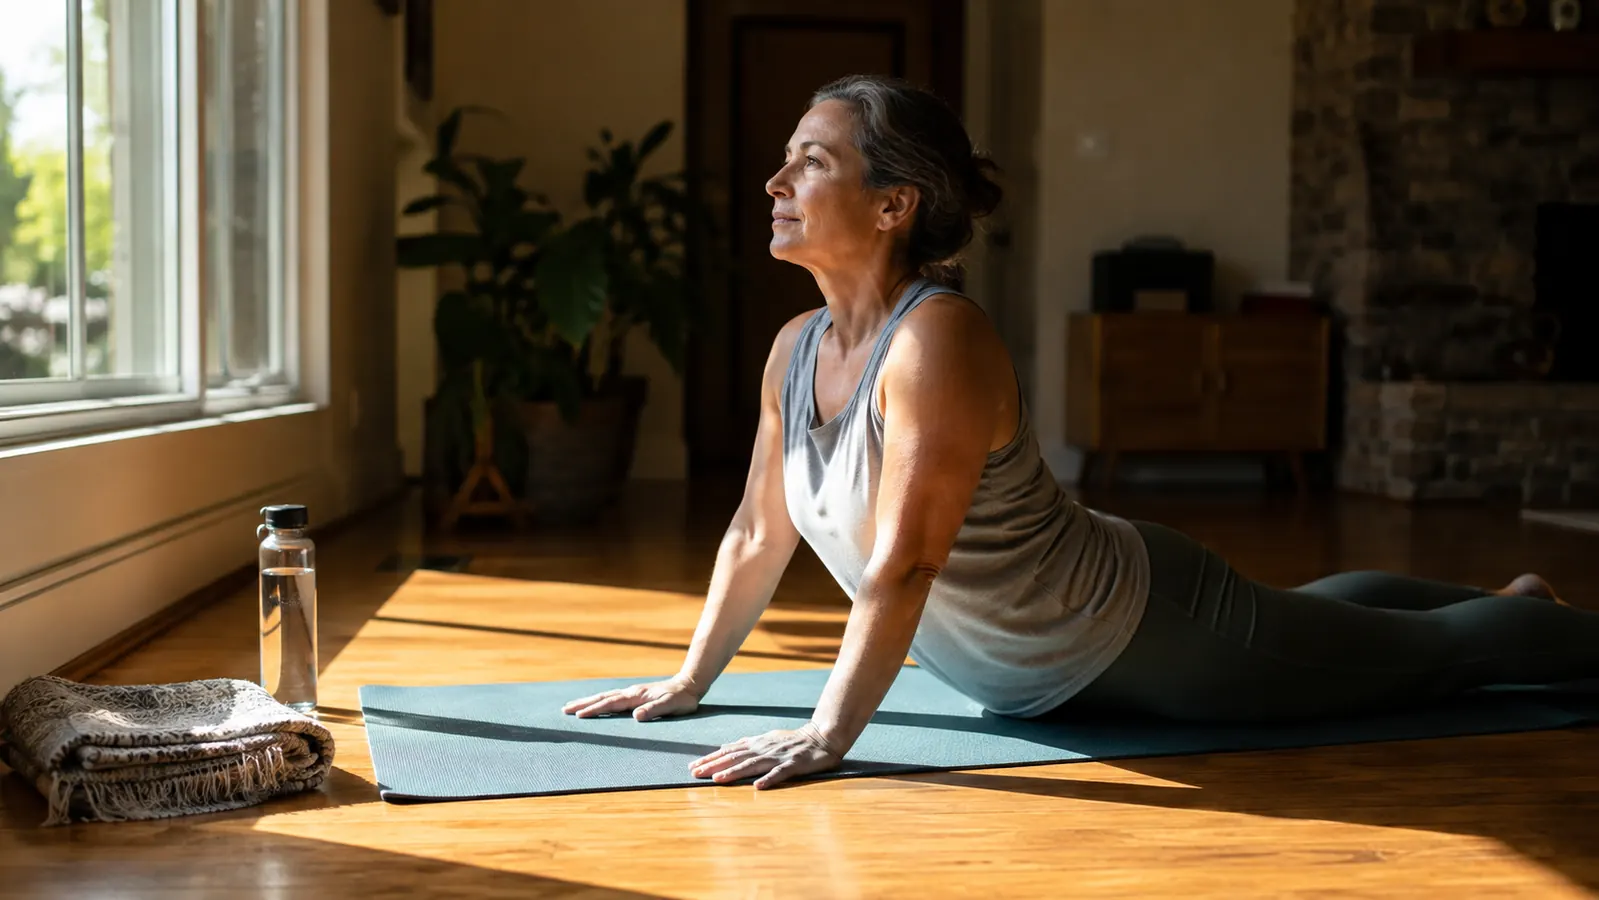
I am not the person you picture easing into a yoga class. I am 58, I live in Mesa where the July heat makes going anywhere impossible, and my lower back has complained about just about every floor I have ever sat on. For years I told myself yoga was for people who had already taken a class, and since I had never taken one, I was officially off the hook.
Then a friend loaned me her mat and let me in on the real secret, which turned out to be that she also had no idea what she was doing, she was just doing it in her living room. That is the thing nobody tells you about starting yoga at home. It does not begin with a curriculum or a fancy pose. It begins with getting down onto the floor without hurting yourself, and doing it again tomorrow. Everything else is a bonus you earn along the way.
A thick mat is the one piece that makes starting possible.
If you are going to buy a single thing before you begin, make it the surface that keeps your knees and wrists happy. The BalanceFrom 1-inch extra thick mat is the one I still roll out every morning, and it is the reason I actually stayed on the floor instead of quitting after week one.
Amazon Check Today's Price on Amazon →Step 1: Clear a space and get your knees off the hard floor
Before a single pose, you need a place that does not punish your joints. Whatever you have as flooring, tile, hardwood, concrete in a garage, it is too hard for a 58-year-old knee after ten minutes of kneeling. This is the biggest reason older beginners quietly quit. The floor hurts, so the mind blames yoga, and the whole experiment ends before it starts.
The fix is one good thick mat. The BalanceFrom 1-inch extra thick mat is what I use, and its entire job is to sit between your sore spots and the ground. An inch of high-density foam sounds small until you actually kneel on it. It comes with a carry strap and a price that does not feel like a gamble, which matters when you are not sure this is even for you yet.
Start even simpler than a pose. Roll the mat out in the exact spot you will actually use, dead center of the room, not tucked into a corner where it will sit untouched. Then leave it there. A mat that stays out gets used. A mat that lives in a closet is a plan, not practice, and plans do not strengthen your back.
Clear the spot for real rather than around it. I do not mean tidy, I mean do not spend your ten minutes tripping over a stack of old bills or moving a chair every session. The floor you kneel on should be within reach of a wall, out of the path of a direct air vent, and long enough to lie down full length without your head under a table. My own patch is a four-by-six stretch between the couch and the back door, and it has held up fine for years. Small beats distant every time, because a space that is easy to step into is one you will actually step into.
Step 2: Begin seated, and only seated
Your knees and hips have opinions, and they have earned them over five decades. So do not walk into this standing and straining. The most beginner-friendly move in all of yoga is simply sitting, and it is where you should spend your entire first week without apology.
You do not need to sit perfectly, whatever that means on the internet. Cross your legs loosely, or if that bothers your hips, sit with your knees bent and your feet flat and let your knees fall out to the sides. Slide a folded blanket or cushion under you if you need it. Your only goal is to be comfortable enough to stay for a few minutes without fidgeting.
From there, learn to breathe on purpose. Inhale for three counts, exhale for four. That longer exhale is what tells your nervous system to stand down. This sounds almost too simple to matter, but it is the single most useful skill you can take out of yoga, and it works the same on a bad day in the checkout line as it does on the mat.
Step 3: Learn three poses, and only three
By the end of week two you should know exactly three poses, and you should be able to move between them without thinking hard about it. Not thirty poses. Three. Spread thin, yoga becomes homework. Kept small, it becomes a habit.
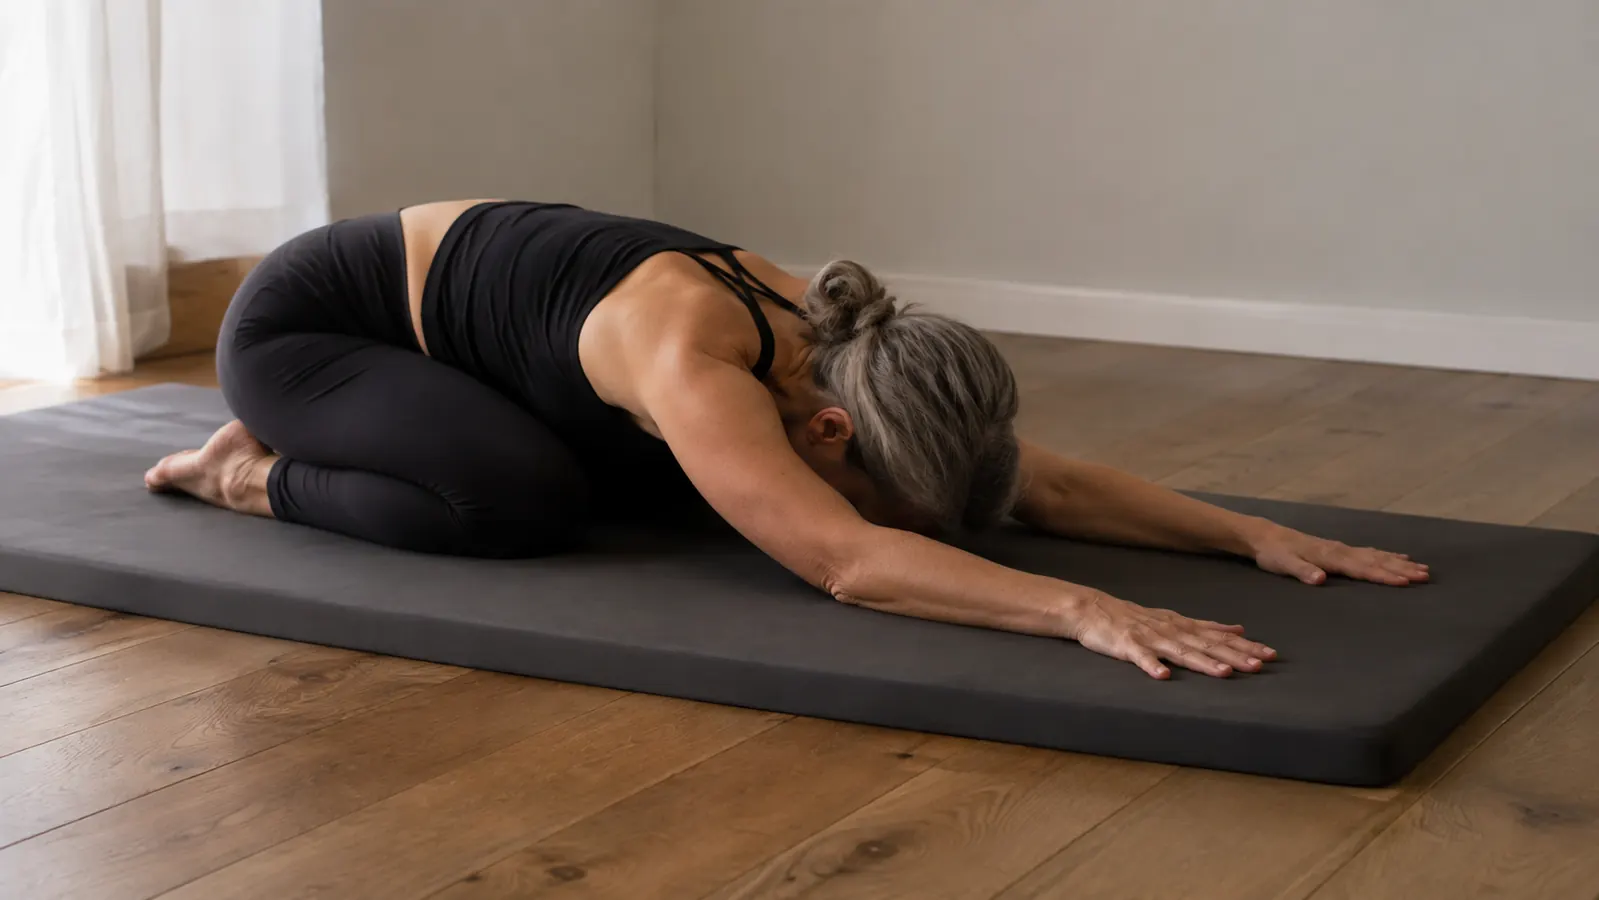
The first is cat-cow. On your hands and knees, round your back up toward the ceiling as you breathe out, then let it dip as you breathe in. This is the one my back thanks me for, and there is no wrong way to be gentle with it. The second is child's pose. Kneel, sit back toward your heels, and stretch your arms forward on the mat in front of you. This is your rest position, the one you return to whenever anything feels like too much.
The third is downward dog, the one everyone recognizes and the one you should build toward slowly. Start with your hands shoulder width apart, lift your hips up, and let your heels reach loosely toward the floor. You do not need straight legs or flat feet. You need a position that lengthens your spine and does not hurt. If your wrists complain, come down into child's pose. You will build wrist strength sooner than you expect.
Run the three in a set order and your body will stop guessing at you. Cat-cow until your spine loosens, lower into child's pose to rest, then one careful downward dog, then back to child's pose to close it out. On the days your wrists flare up, do the cat-cow with your forearms down instead of your palms, or nudge your knees back a little so less weight rests on your hands. Nobody is scoring your form through a window. The only standard that matters is whether the same three moves feel smoother next week than they did this one.
Step 4: Commit to ten minutes, three days a week
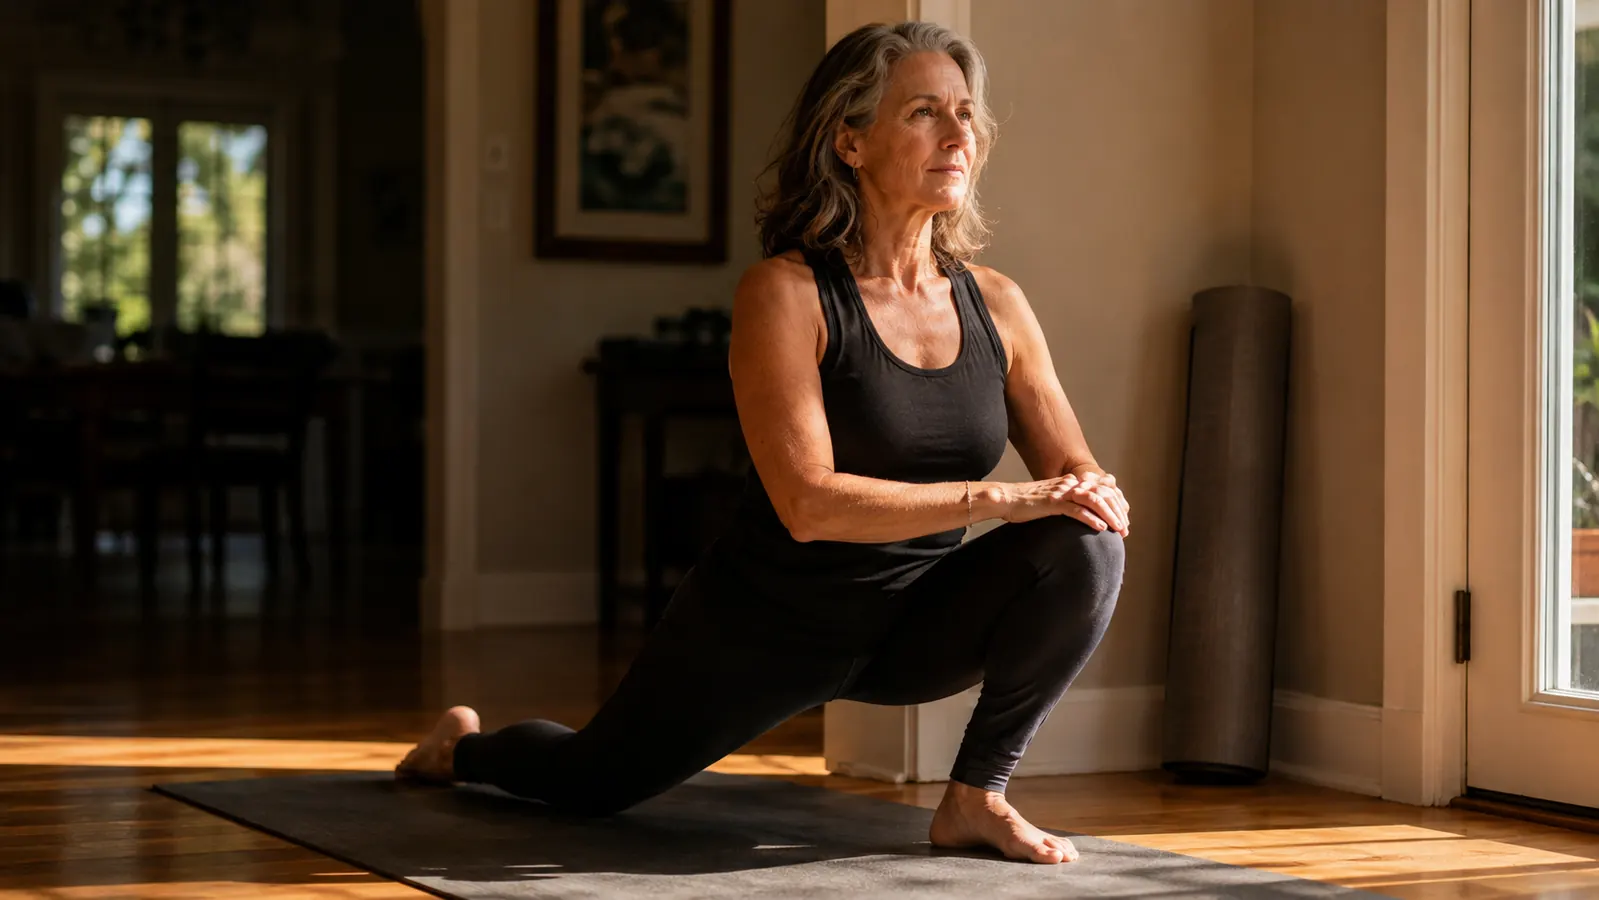
Here is the honest math that changed everything for me. Ten minutes a day, three days a week, beats a heroic hour once a month, every single time. The people who keep doing this are not the ones with more willpower. They are the ones who made the ask small enough to actually keep.
Pick your three days and your ten minutes and defend them the way you would defend anything you care about. For me it is first thing in the morning, before the coffee, while the house is quiet. For you it might be after work. The time matters less than the fact that it is the same time, because routine is what carries you through the days you do not feel like it.
Keep total time low even as you add poses. On day one, sit, breathe, do a round of cat-cow, rest in child's pose, and stop. On day three, add your downward dog. Within a month you will be surprised at how natural the little sequence feels, and you will not have felt once like you were being sold a transformation.
Plan for the miss, because there will be one. A holiday, a sick grandkid, a genuinely dead-tired night, they happen, and the routine survives on what you do the day after, not the day of. My one rule is never to double up to make up. If you skipped Wednesday, you do your ten minutes on Thursday, and you do not add a second round to punish yourself. Guilt is the real enemy of a home practice, and it is the thing that actually stops people, so treat a missed day like ordinary weather and move on.
Step 5: Progress honestly, and know when to back off
This is the tradeoff nobody on the inspirational posters mentions. Yoga will make you a little sore at first, and there is a real difference between the good sore of muscles waking up and the bad pain of a joint or a nerve saying stop. Learn to tell them apart, because that skill is worth more than any pose.
Good sore lives in the belly of a muscle and fades within a day or two. Bad pain is sharp, it lives in a joint, or it travels down a limb, and it is your cue to back off, not to power through. If something hurts on one side but not the other, that is a sign to slow down. When in doubt, do less. You do not burn a week of progress by taking a day off, but you can set yourself back substantially by ignoring a warning.
And if a class on a screen tells you to do something that worries you, skip it. The screen does not know about your back. You do. The whole point of doing this at home is that you, not a stranger, are in charge of what feels okay.
None of this replaces a professional when your body raises a real flag. If the same spot hurts every single time, if a sharp pain does not settle within a few days, or if anything goes numb or tingles, that is not a cue to modify a pose, it is a reason to check in with a doctor or a physical therapist before your next session. Being in charge of your own practice includes knowing when to hand things to someone with more training than a yoga video. I have done exactly that more than once, and the mat is still here waiting when I come back.
The mat is the difference between doing the work and skipping it, and for me that difference was the whole story.
What Else Helps
You do not need a shopping list to start, and I am not going to hand you one that empties your wallet. The BalanceFrom mat is the one piece I would not skip, and after that the add-ons are small, optional, and mostly things you already own.
A folded blanket or firm cushion is a stand-in for a yoga bolster, and it helps when sitting upright bothers your hips. A couple of thick books can do most of what yoga blocks do, giving you something to rest your hands on when the floor is too far away. A sturdy chair next to the mat is your balance support for any standing work, and you are never too old to use one, so refuse the embarrassment.
Keep a water bottle nearby and a towel within reach. Use the wall behind you when you want a little more support. That is genuinely it. The gear trap is real, and the way to dodge it is to add things only when a specific need shows up, never because a shopping cart made it look nicer.
One more honest note before you go. Some days the ten minutes will feel pointless, and you will do them anyway, and that is the habit doing its job. Other days they will be the quietest, most useful part of your day. Both count the same. Four years in, I still roll out the BalanceFrom mat on mornings when I would rather not, and I have never once regretted the ten minutes after. That is the whole sales pitch, and it is the honest one.
Start where you can actually stay.
Beginnings do not need to be impressive, they need to be comfortable enough to repeat. A good thick mat gets you on the floor without a fight, and everything else you can build from there. The BalanceFrom 1-inch mat is the one I reached for every morning for four years.
Amazon Check Today's Price on Amazon →